In this article, we will focus on Role Based Access Control (RBAC) using the Guards in a nestJS application.
Guard
A guard is a class annotated with the @Injectable() decorator. Guards should implement the CanActivate interface.

Guards have a single responsibility. They determine whether a given request will be handled by the route handler or not, depending on certain conditions (like permissions, roles, ACLs, etc.) present at run-time. This is often referred to as authorization. Authorization (and its cousin, authentication, with which it usually collaborates) has typically been handled by middleware in traditional Express applications.
Authorization guard
Authorization is a great use case for Guards because specific routes should be available only when the caller (usually a specific authenticated user) has sufficient permissions.
Role Based Authentication
Role-based access control (RBAC) restricts network access based on a person’s role within an organization and has become one of the main methods for advanced access control.
The roles in RBAC refer to the levels of access that employees have to the network. Employees are only allowed to access the information necessary to effectively perform their job duties. Access can be based on several factors, such as authority, responsibility, and job competency.
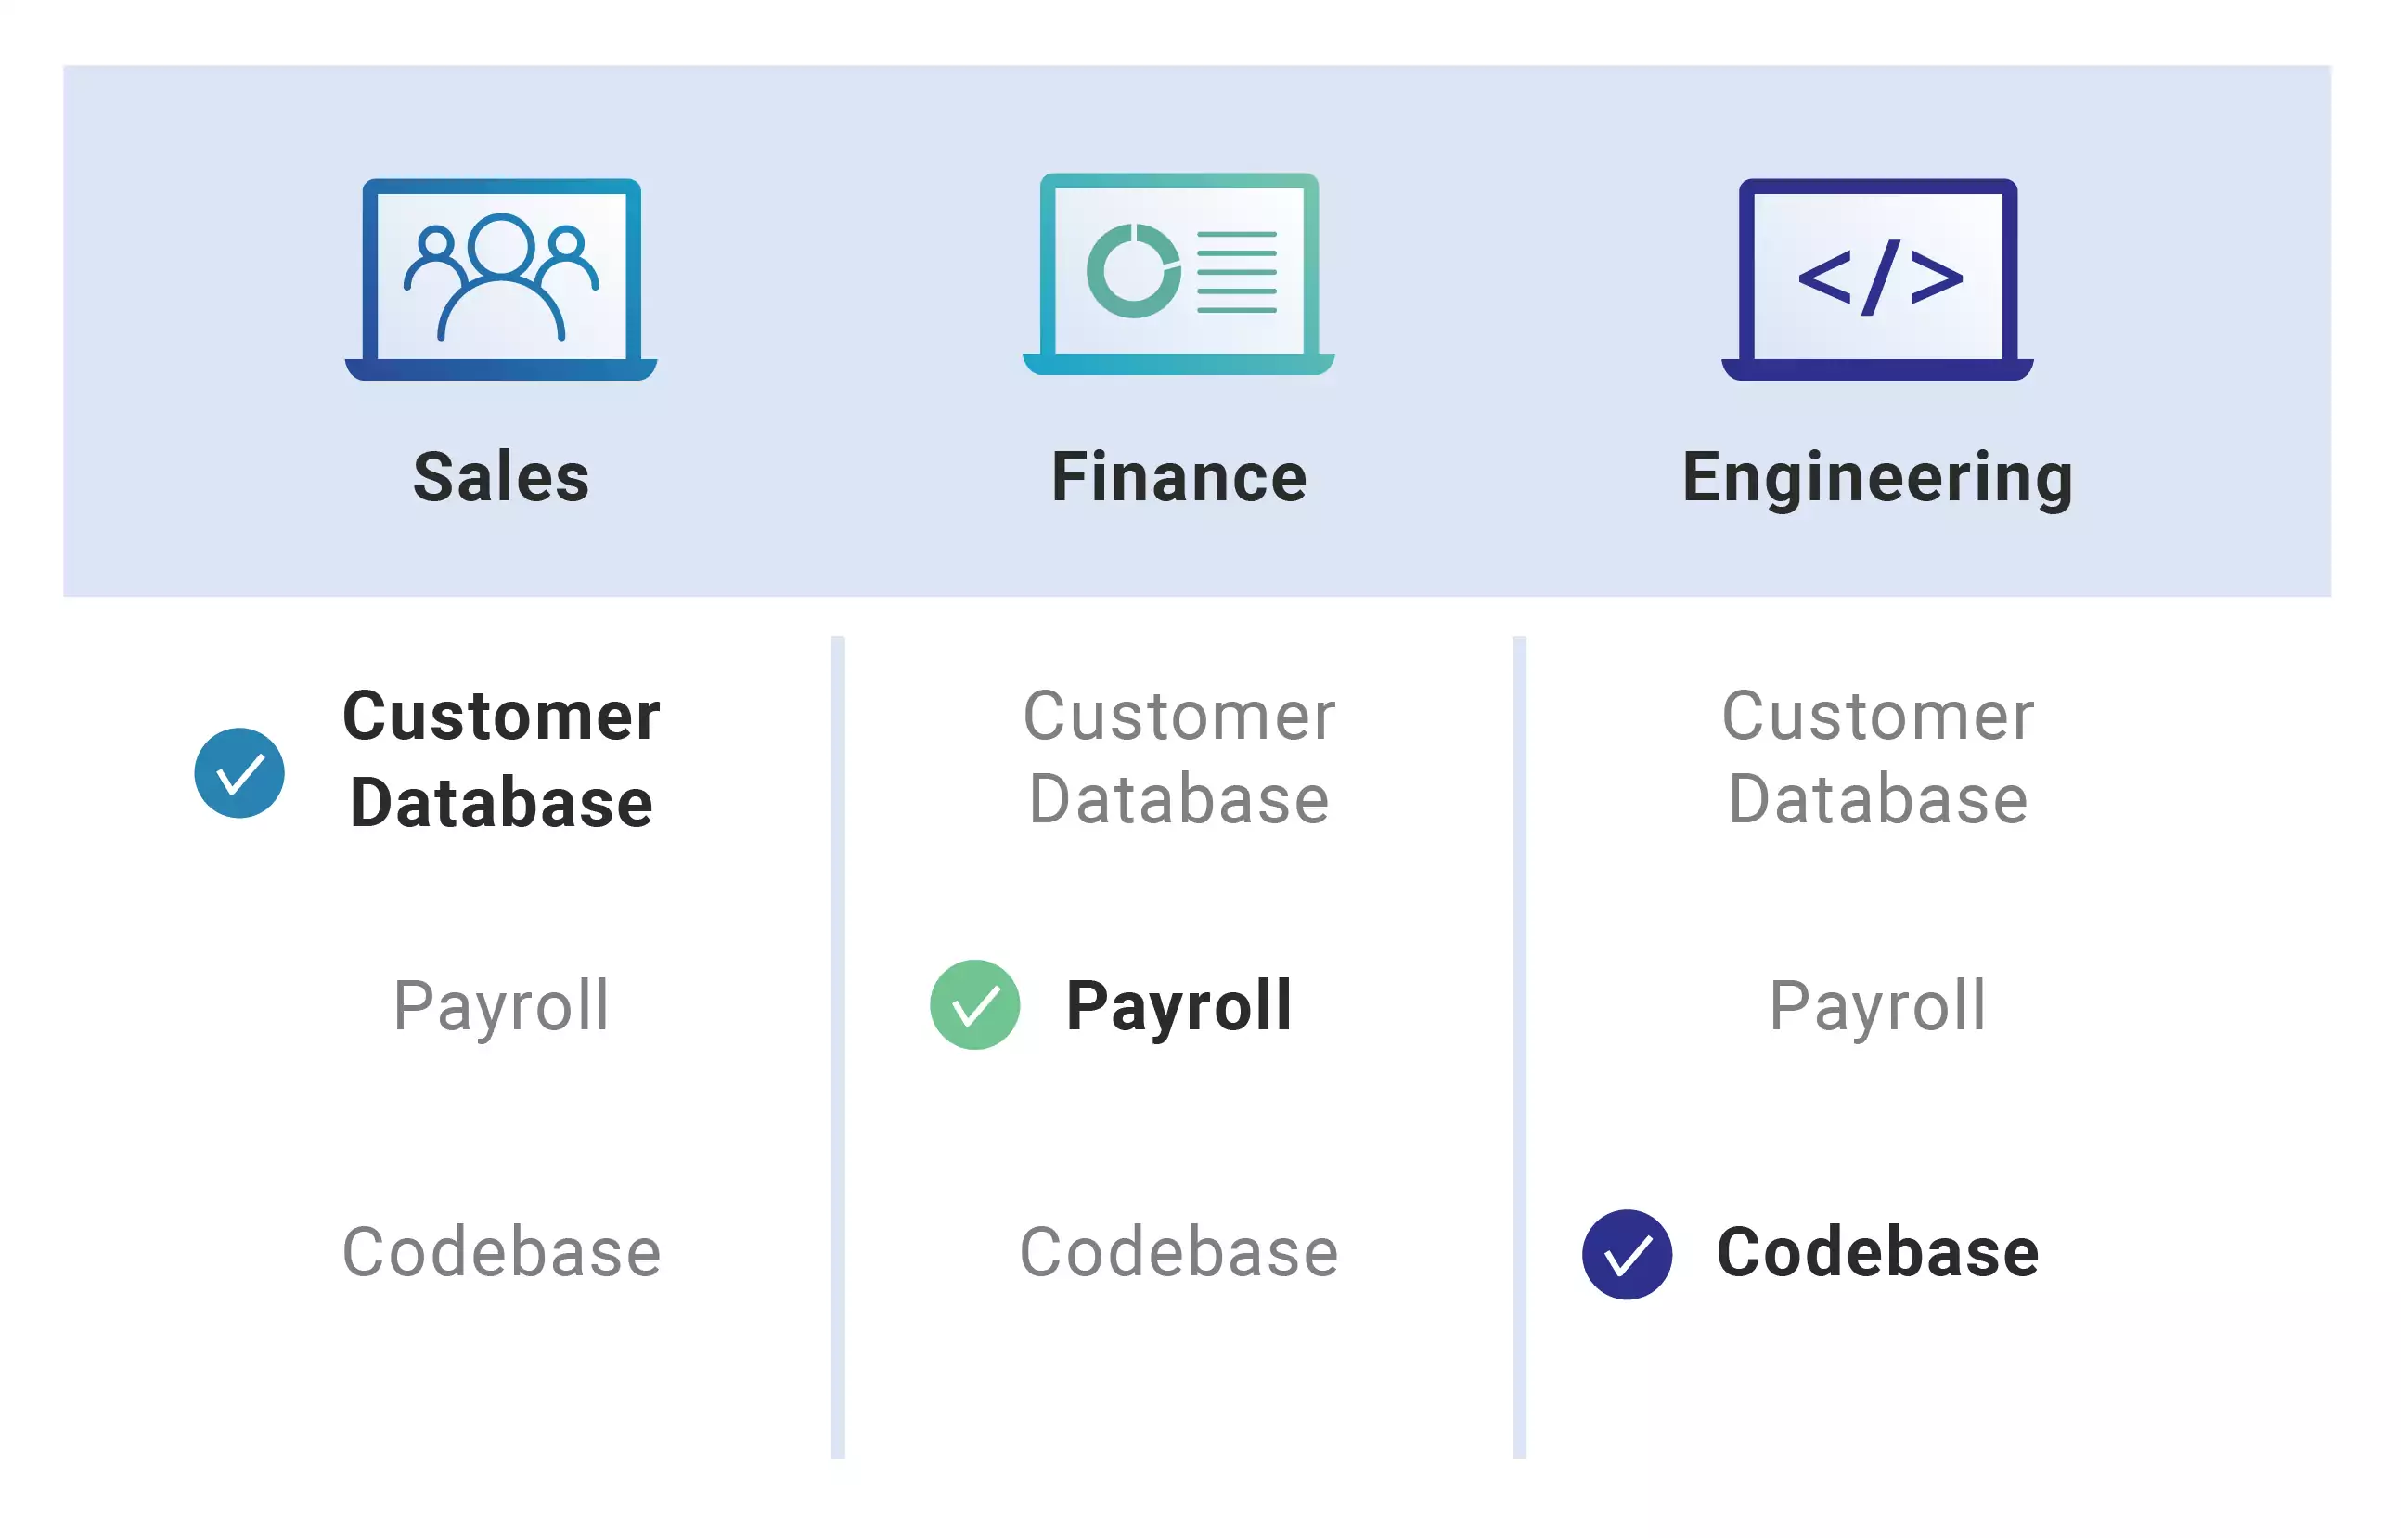
As a result, lower-level employees usually do not have access to sensitive data if they do not need it to fulfill their responsibilities.
This is especially helpful if you have many employees and use third-parties and contractors that make it difficult to closely monitor network access. Using RBAC helps in securing your company’s sensitive data and important applications.
Creating application
Lets create a new application from scratch using :
nest new nest-authorization
Creating initial boilerplate for our app:
To do authorization we need to know who the user is and what roles do they have.
To do this we also need some kind of example api to allow some and protect some depending on user roles.
Lets create a new resource users using :
nest g resource users
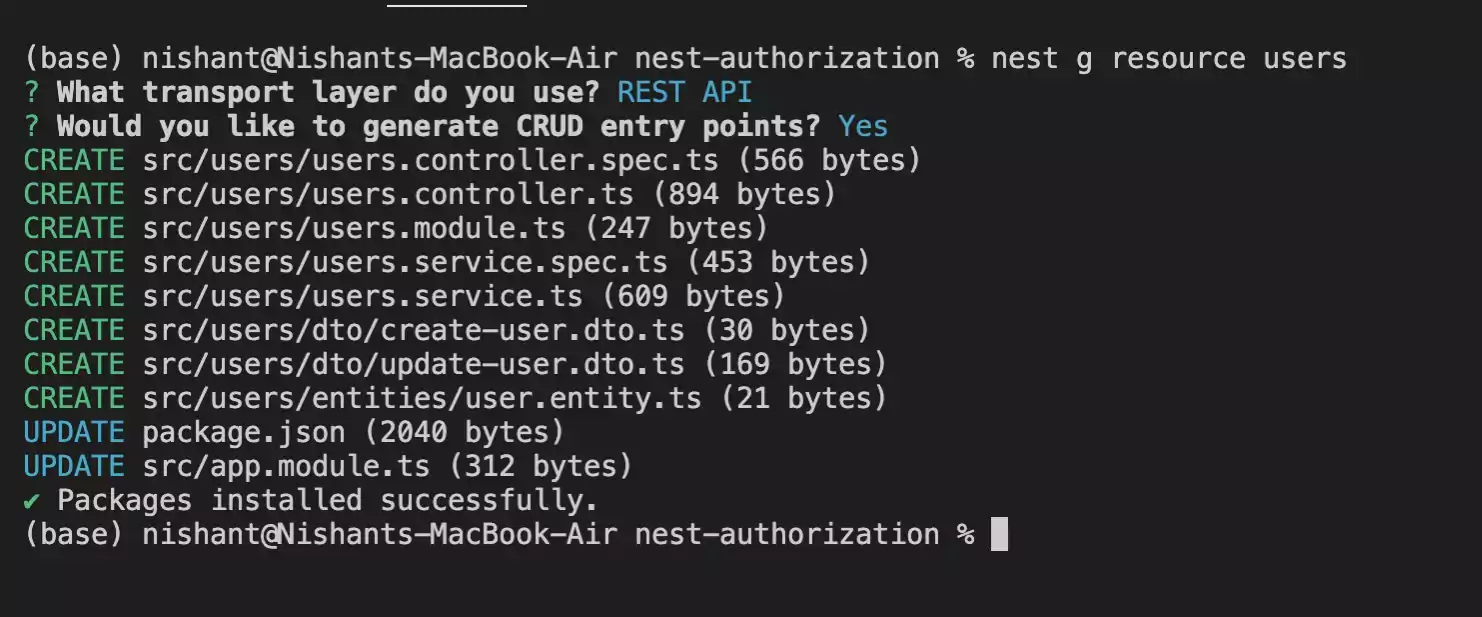
Defining user entities and roles enum:
To get started our user needs to have roles for us to be able to do role based authorization. We need to have a representation of different roles. We can start with a simple enum file.
export enum Role {
  USER = "user",
  ADMIN = "admin",
}
Testing the initial build
Lets first run the application and see how it behaves originally using
npm run start:dev
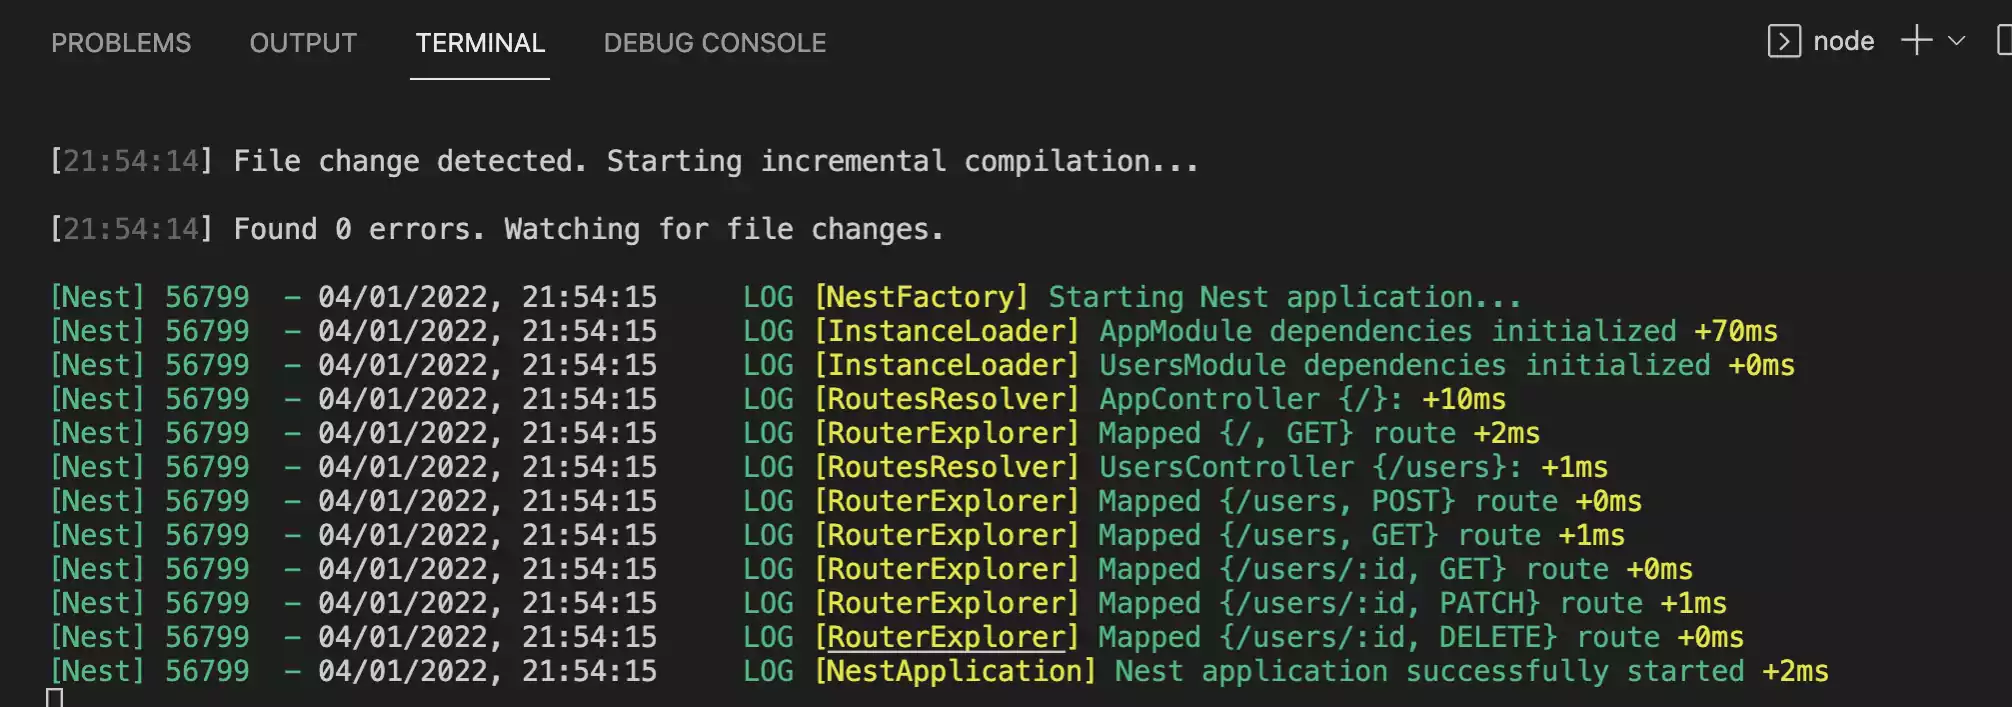
Now we have sort of a mock api which is open to everyone right now.
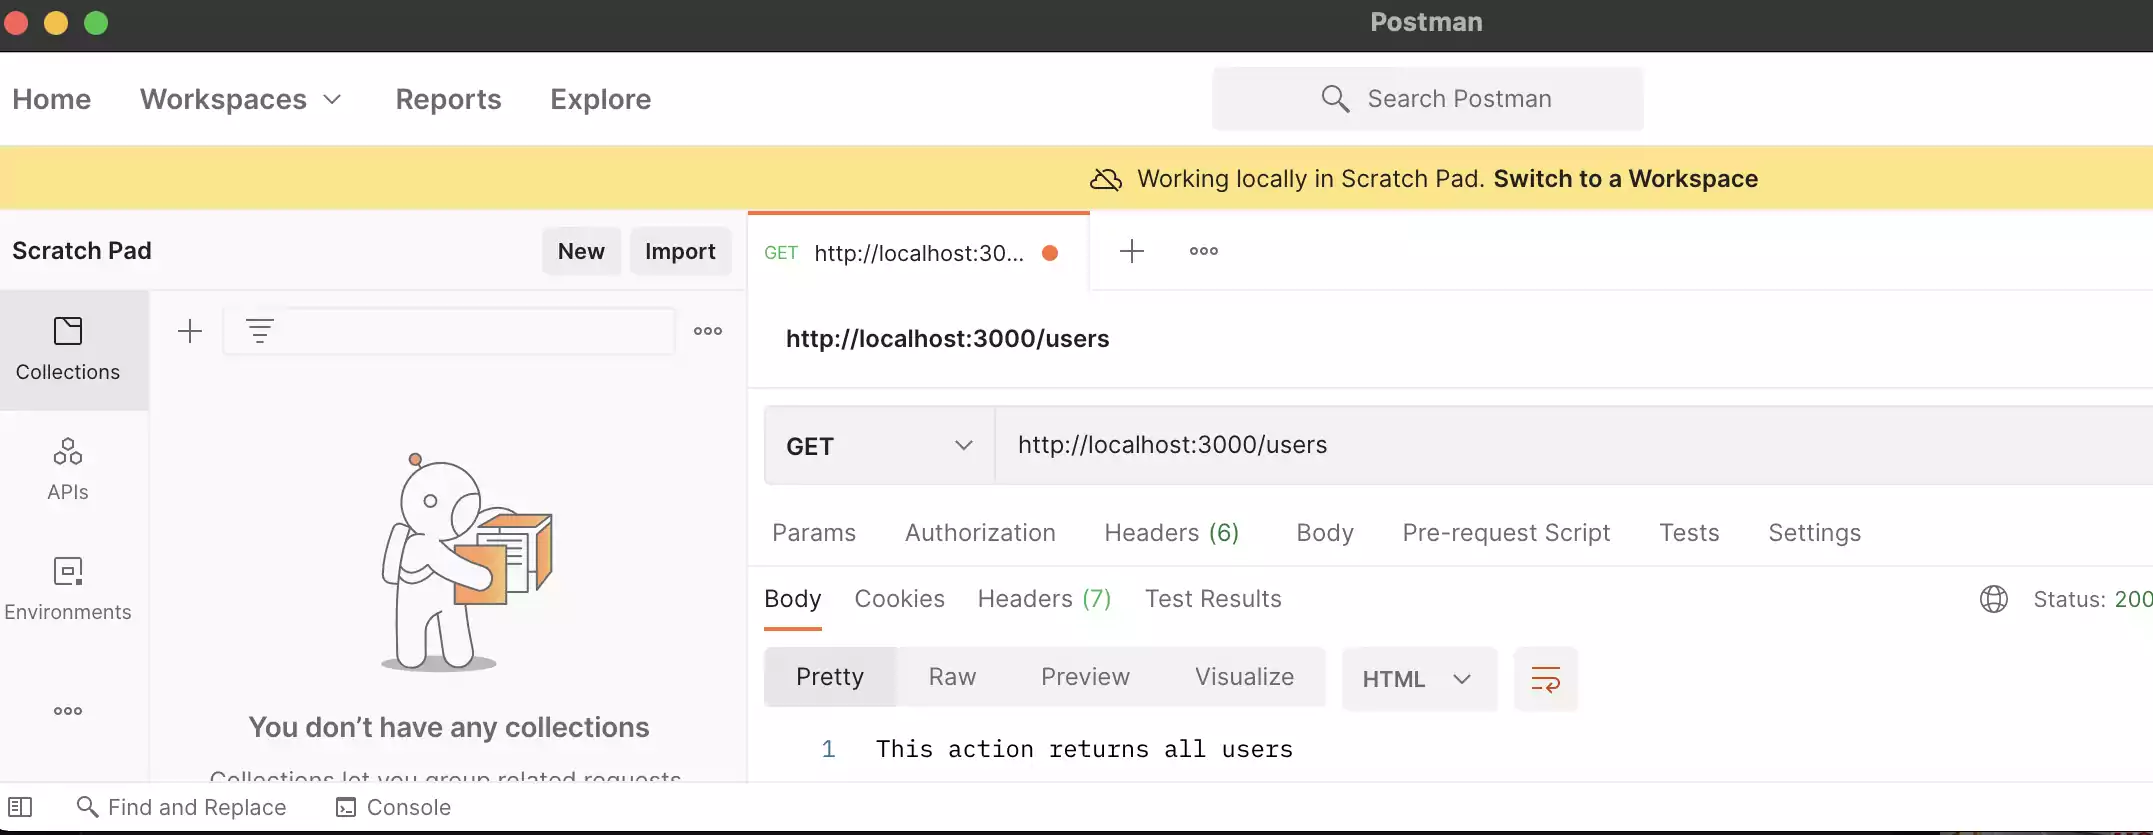

Implementation and integration
Now we need to check what role does a user have and are they allowd to access these requests.
We can do this by decorating the methods in users.controllers.ts by using setMetadata()
Decorator.
There is also another way that is by using a custom decorator that represents the same thing that setMetadata( ) can do.
In users folder create a roles.decorator.ts
import { SetMetadata } from "@nestjs/common";
import { Role } from "./entities/role.enum";

export const Roles = (...roles: Role[]) => SetMetadata("roles", roles);
Now in users.controller.ts add this decorator .
import {
  Controller,
  Get,
  Post,
  Body,
  Patch,
  Param,
  Delete,
  SetMetadata,
} from "@nestjs/common";
import { UsersService } from "./users.service";
import { CreateUserDto } from "./dto/create-user.dto";
import { UpdateUserDto } from "./dto/update-user.dto";
import { Role } from "./entities/role.enum";
import { Roles } from "./roles.decorator";
@Controller("users")
export class UsersController {
  constructor(private readonly usersService: UsersService) {}

  @Post()
  @Roles(Role.ADMIN)
  create(@Body() createUserDto: CreateUserDto) {
    return this.usersService.create(createUserDto);
  }

  @Get()
  findAll() {
    return this.usersService.findAll();
  }

  @Get(":id")
  findOne(@Param("id") id: string) {
    return this.usersService.findOne(+id);
  }

  @Patch(":id")
  @Roles(Role.ADMIN)
  update(@Param("id") id: string, @Body() updateUserDto: UpdateUserDto) {
    return this.usersService.update(+id, updateUserDto);
  }

  @Delete(":id")
  @Roles(Role.ADMIN)
  remove(@Param("id") id: string) {
    return this.usersService.remove(+id);
  }
}
This doesn’t protect the method yet we are just providing metadata.
Now lets add the piece that adds the actual security i.e. lets create a guard.
Creating a guard
Inside users create a new Roles guard roles.guard.ts
Here we need to check if the user has the required roles to allow the user.
Because we do not have authentication in place which you should to identify the user here we will keep it really simple and mock a user considering we did the authentication.
import { Injectable, CanActivate, ExecutionContext } from "@nestjs/common";
import { Reflector } from "@nestjs/core";
import { Observable } from "rxjs";
import { Role } from "./entities/role.enum";
import { User } from "./entities/user.entity";
@Injectable()
export class RolesGuard implements CanActivate {
  constructor(private reflector: Reflector) {}
  canActivate(context: ExecutionContext): boolean {
    const requireRoles = this.reflector.getAllAndOverride<Role[]>("roles", [
      context.getHandler(),
      context.getClass(),
    ]);

    if (!requireRoles) {
      return true;
    }
    //const {user}=context.switchToHttp().getRequest();
    const user: User = {
      name: "Nishant",
      roles: [Role.USER],
    };
    return requireRoles.some((role) => user.roles.includes(role));
  }
}
Testing
Generic User
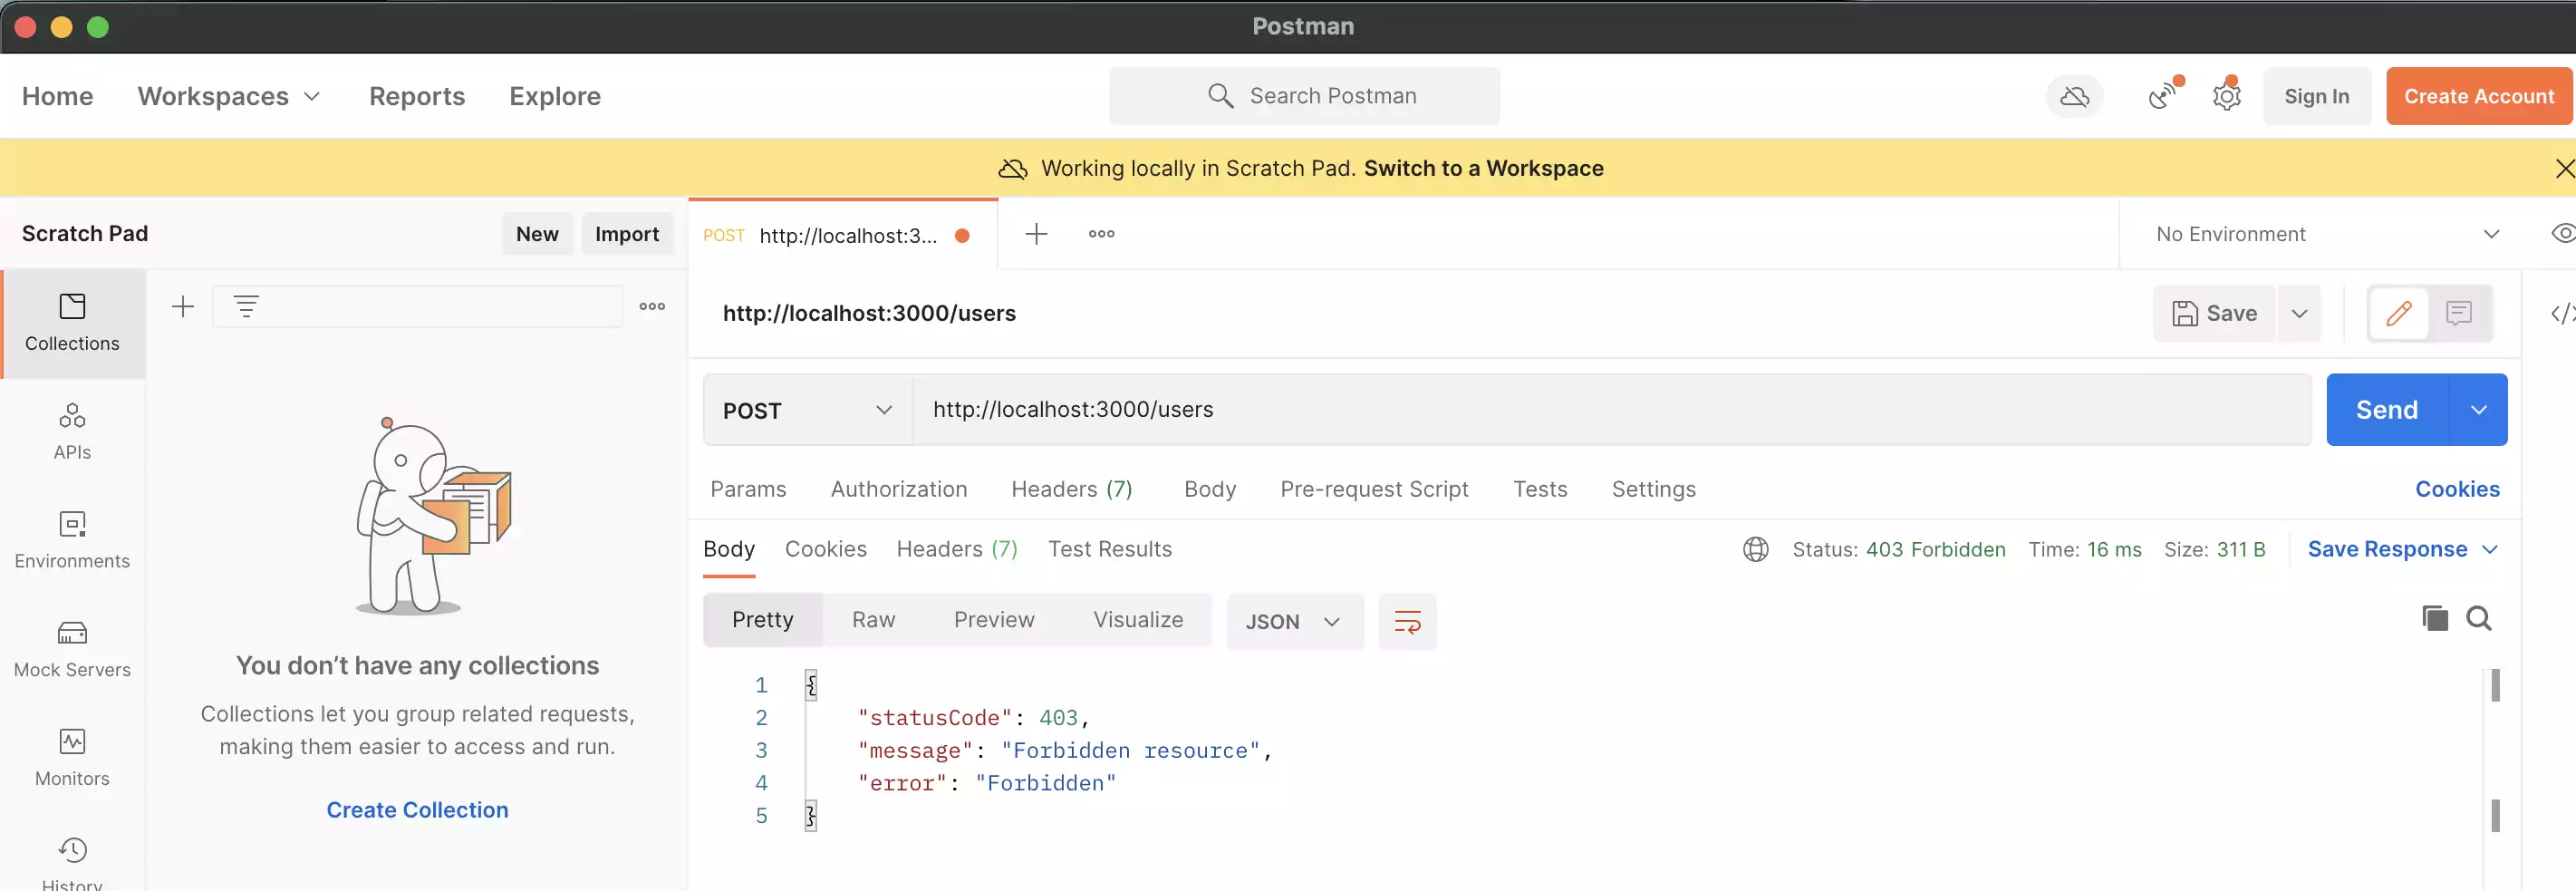
If a user is a generic. Then

It will only be able to perform get request. Because here generic user is only allowed get request by the guard.

For a post request by the user it will give a 403 forbidden error.
Admin User
If a user has admin role.

it will be able to perform get request, post, Patch, delete.


References
- https://docs.nestjs.com/guards
- https://digitalguardian.com/blog/what-role-based-access-control-rbac-examples-benefits-and-more
This was all about using guards in a nestJS application to authorize. You can find the code example here
If you liked this article, you can buy me a coffee
Leave a comment