You have build your nest microservice, but you want to secure your application using firebase tokens.
In earlier post, we had set up a nestJs application with simple controller. Now we will set up authentication using firebase auth tokens.
Initialize firebase
The first step is to initialize firebase app.
Service account
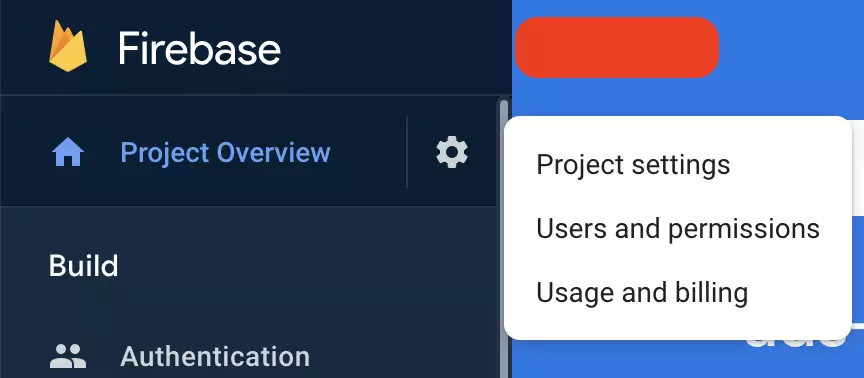
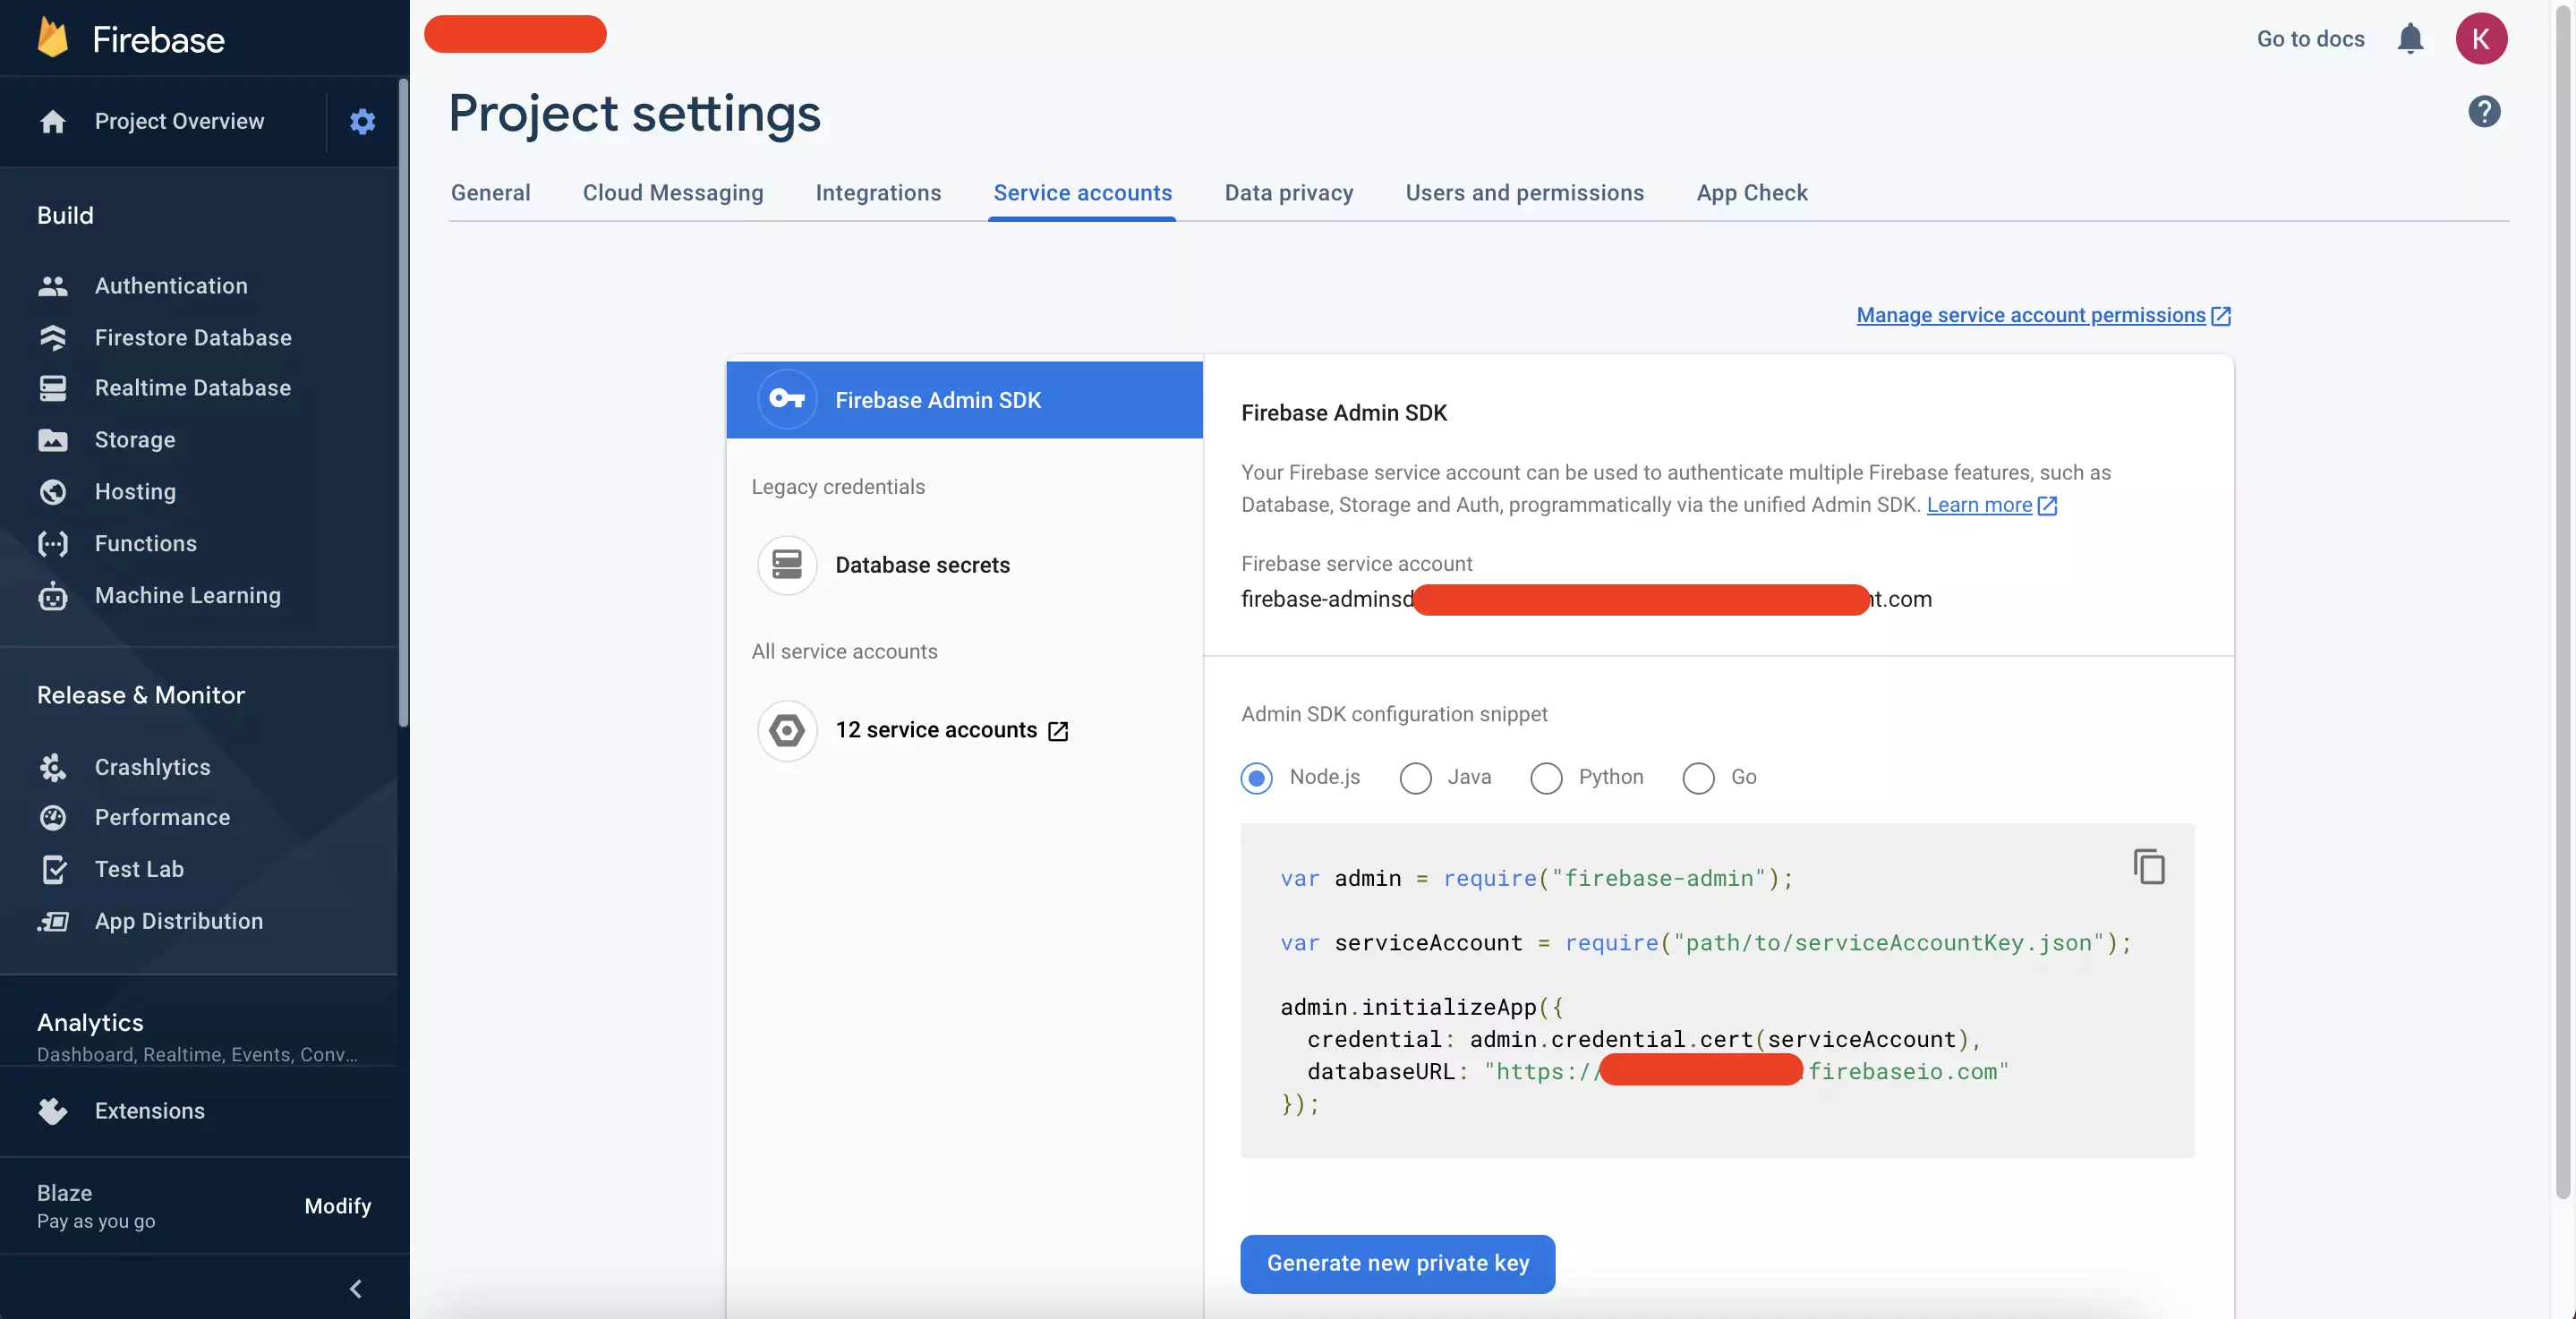
Login to your firebase account, create/open the project and goto project settings.

Go to service account

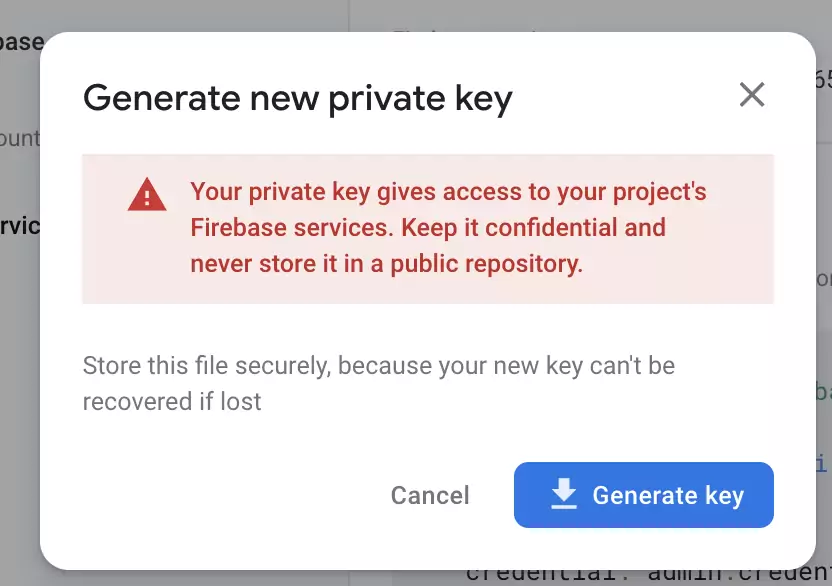
And generate key, download this file.

Keep this file secure. We will now set up our config.
config
we will create a file firebase-config.ts, and populate the values from generated keys (for better security, you should pass the values using environment values).
Creating FirebaseApp service
For that lets create a service which will provide us with the instance of firebase auth object.
Note: we will add FirebaseApp as a provider into our app.module.ts
NestJs Middleware
So middleware are functions which are called before route handlers. Middleware functions has access to http request, response and next function which points to next middleware.

Middleware functions can perform the following tasks:
- execute any code.
- make changes to the request and the response objects.
- end the request-response cycle.
- call the next middleware function in the stack.
- if the current middleware function does not end the request-response cycle, it must call next() to pass control to the next middleware function. Otherwise, the request will be left hanging
For more details refer docs
Pre-auth middleware
Let’s create our middleware which will validate if the request has Bearer token and verify it.
In order to create a middleware we need to implement NestMiddleware and implement the use method. As said earlier, we get handle of request, response and next methods.
In here, we are initializing the auth in constructor, and in the use method we evaluate the token and pass it to firebaseAuth.verfiyIdToken()
to verify against firebase.
Once validated make sure to call next() on success, else your request won’t proceed to next middleware, and it will hang.
Here, I am adding user information to request object which I extracted from the token.
In case we don’t find the token or token verification fails we are writing an error response to response object.
Note: Here I am using firebase token, but you can setup any authentication mechanism.
Add middleware to the nestJS app
Next we will plugin our middle to app. Open your AppModule, make sure it implements NestModule.
In the configure method we will apply our middleware and also specify which path/methods you want to apply this middleware.
Here, I am saying I want to have authentication on all the urls which starts with /secure
And, you authentication configuration is complete.
Test Controller
In our app controller, let’s add get methods and test if our middleware is working fine.
Now try to access http://localhost:3000/ping, you should be able to pong response.
But when you will try to access http://localhost:3000/secure/ping you will get an error response
{"statusCode":403,"timestamp":"2021-08-29T14:28:31.324Z","path":"/secure/ping","message":"access denied"}
Now you need firebase token to access the apis.
If you liked this article, you can buy me a coffee
Leave a comment